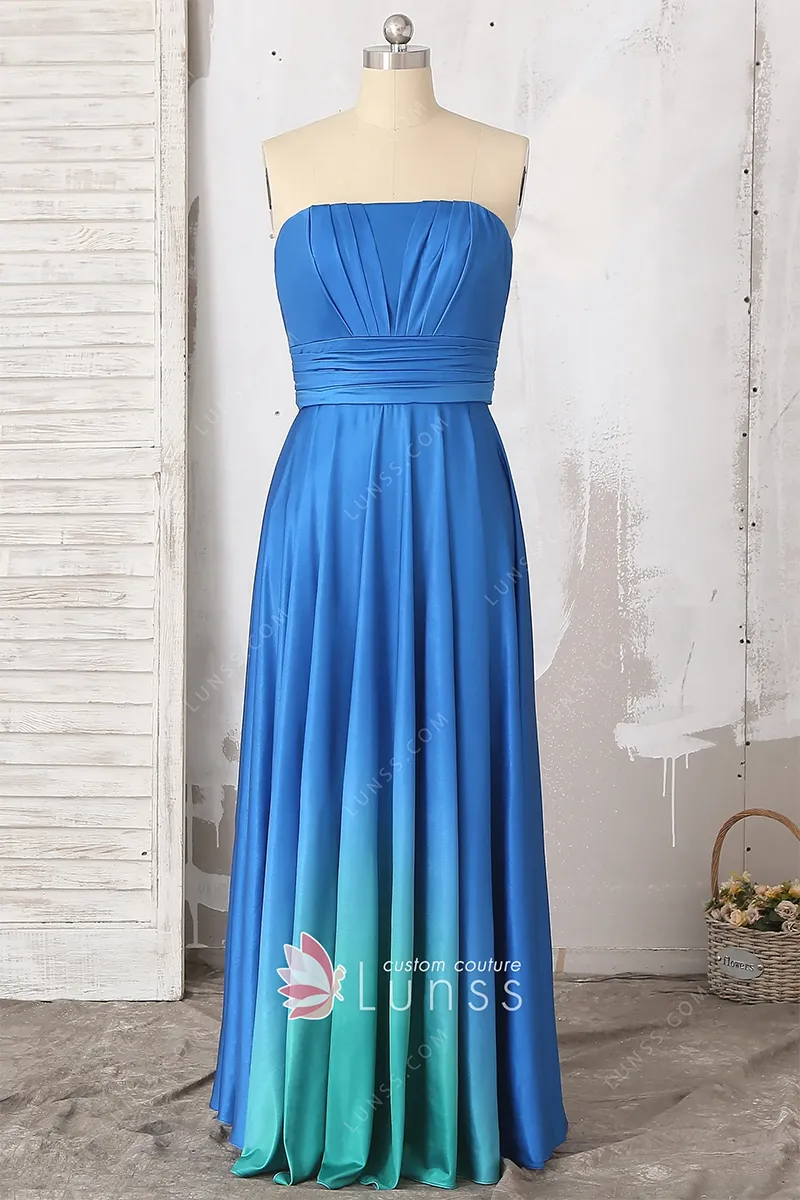
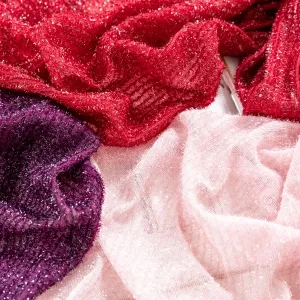
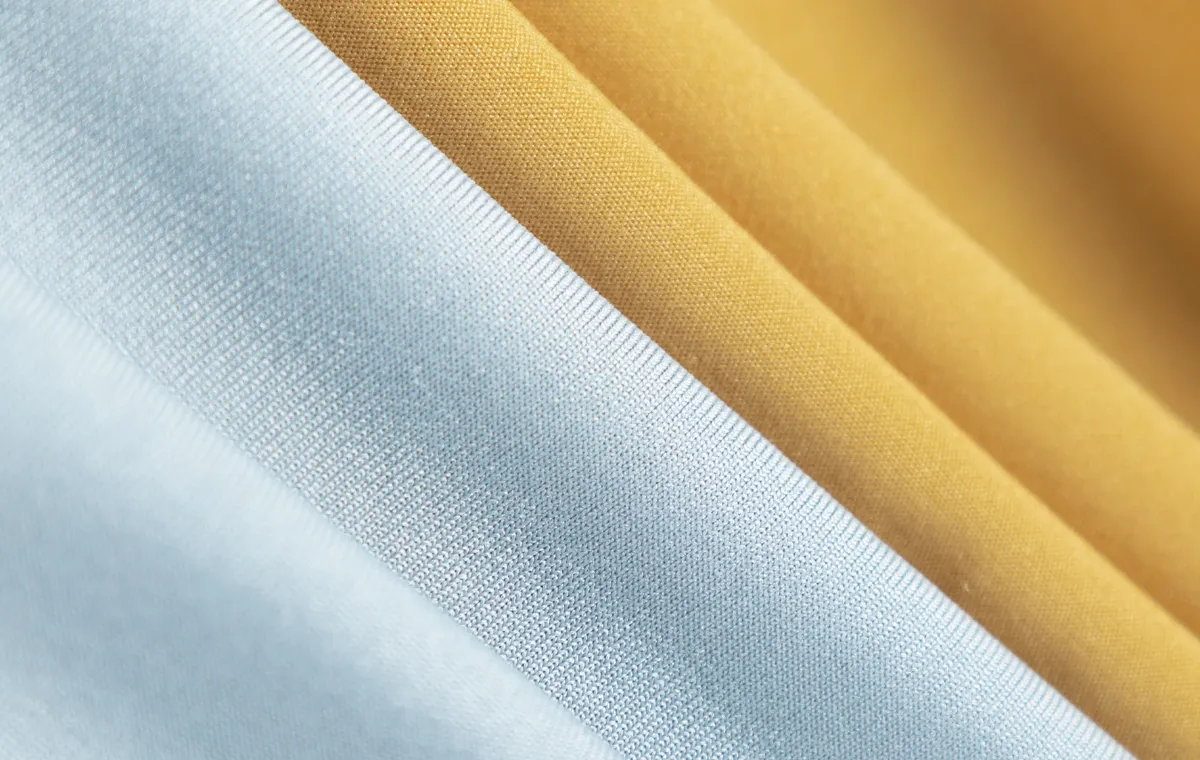
A lot of people are initially intimidated by learning how to sew stretchy fabric. I have to admit I was once one of them. Sewing stretchy fabrics just might bend your sewing skills in another direction. With the right techniques and a bit of practice, it becomes an enjoyable and rewarding experience. Whether you're working with jersey, spandex, stretch satin, stretch velvet, stretch lurex or other stretchy materials, this beginner's guide will help you navigate the challenges and create beautiful, comfortable garments.


Why Sew Using Stretch Fabric?
Jersey and knit stretch fabrics cover all seasons so comfortably. Fabrics like jersey, spandex, and knits have a natural stretch that allows for ease of movement, making them ideal for garments that need to be both stylish and comfortable. Whether you're creating activewear, lounge attire, or everyday clothing, the stretch ensures a comfortable fit that moves with your body. They contour to your curves, creating a flattering and customized fit. This feature makes stretch fabrics a popular choice for garments like dresses, skirts, and tops, where a tailored and body-conscious silhouette is desired. You can experiment with ruching, gathers, and other intricate details that may be challenging with non-stretch materials. The flexibility of stretch fabrics allows you to get creative with your designs, making them perfect for a wide range of projects from casual wear to formal attire.
Choosing the Right Needle and Thread
The first step in sewing stretch fabrics is selecting the appropriate needle and thread. Opt for a ballpoint or stretch needle, as they are designed to move between the fibers of the fabric rather than piercing them. This helps prevent snags and runs. Use a polyester or nylon thread, as they provide the necessary stretch and durability for these fabrics.
Invest in Quality Pins and Cutting Tools
Using the right tools is crucial when working with stretch fabrics. Replace standard pins with ballpoint pins, which slide easily between the fibers without causing damage. A rotary cutter or sharp scissors with serrated edges will ensure clean cuts without fraying.
Prepping Your Fabric
Before diving into your project, prewash and dry your stretch fabric. This step is essential to prevent shrinkage after you've put in the time and effort to create your garment. Once washed, allow the fabric to hang or lay flat for a while to regain its shape.


Choosing the Right Stitch
When sewing stretch fabrics, the right stitch can make all the difference. Opt for a narrow zigzag stitch or a stretch stitch if your sewing machine has this option. These stitches allow the fabric to stretch without causing the seams to pop. Alternatively, you can use a serger for a professional finish and added stretch.
Handling and Feeding the Fabric
Stretch fabrics can be slippery and challenging to control while sewing. Use tissue paper or a wash-away stabilizer on top of the fabric to prevent it from getting caught in the feed dogs. This technique provides stability during sewing and can be easily removed afterward.
Securing Seams and Hems
To secure seams and hems, consider using a twin needle. This creates a professional-looking finish on the outside while allowing for stretch on the inside. If you don't have a twin needle, a simple zigzag stitch can also do the trick.


Don't Push or Pull
When you sew the fabric pieces together, take care to guide the fabric gently through the sewing machine’s feed dogs. Do not push or pull the fabric. Setting your machine on a slow speed will make this easier to do.
How to Stop Stretchy Fabric Curling
Some knits curl at the edges, making them hard to sew. If you press the pieces immediately before sewing, you can temporarily stop the curling long enough to sew a seam easily. Use extra pins to hold the edges.
Practicing on Scrap Fabric
Find some stretch scraps to practice or even cut up an old t-shirt to give yourself some confidence to start. Experiment with different stitches and settings on your machine to find what works best for your specific fabric.


