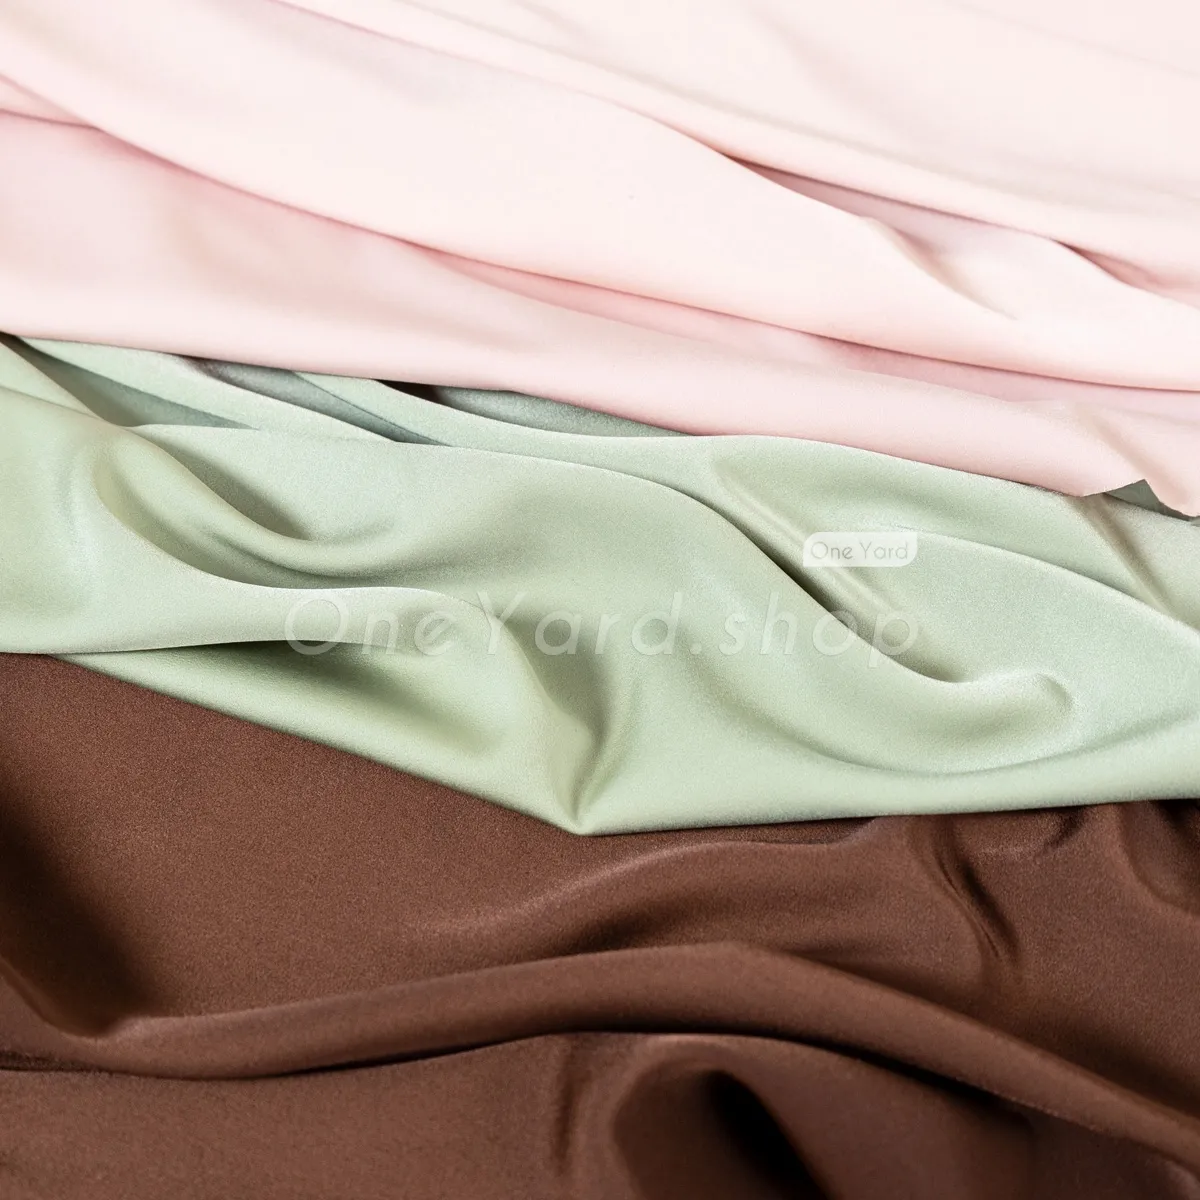
A satin formal dress is a stylish and elegant garment typically worn for special occasions, such as weddings, galas, proms, and other formal events. Satin fabric is chosen for its luxurious appearance and graceful drape, making it an excellent choice for creating a stunning and sophisticated dress. Whether you are an experienced dressmaker or are relatively new to the world of dressmaking we’ll talk you through how to sew with satin. The shiny and slippery surface of satin makes it one of the most difficult fabrics to manipulate, here are the 11 steps for sewing success when working with satin fabric:
1. Preparing the Fabric
Wash and press the satin fabric before cutting to prevent any shrinkage that might occur later. Use a gentle fabric wash and avoid fabric softeners, as they can affect the fabric's sheen.
2. Pattern Selection and Cutting
Choose a pattern suitable for satin fabric. Simple and flowing designs work well with satin's drape. Place pattern pieces on the fabric following the grainline and pattern instructions. Use fine, sharp scissors or a rotary cutter to cut the fabric. To prevent shifting, you can use weights or pins placed within the seam allowances.


3. Marking and Tracing
Use tailor's chalk or fabric markers specifically designed for satin to mark darts, notches, and other pattern details. Be cautious not to press too hard, as satin is delicate and markings might show through.
4. Seam and Stitch Selection
Choose appropriate sewing machine settings and needles. A fine universal or microtex needle is recommended. Use a narrow zigzag stitch or a specialized stitch for delicate fabrics to prevent the fabric from puckering or stretching. Test your stitch settings on a scrap piece of satin before sewing the actual garment.


5. Stitching Techniques
Pin or baste seams before stitching to prevent slipping. Stitch with even tension and a light touch to avoid pulling or puckering the fabric. Backstitch at the beginning and end of seams to secure the stitches.
6. Seam Finishe
Consider French seams, flat-felled seams, or narrow bias tape finishes to enclose raw edges neatly without bulk.
7. Pressing
Use a low to medium heat setting on your iron, and place a pressing cloth or piece of muslin between the iron and satin to prevent scorching or shine. Press seams carefully, lifting and moving the iron instead of dragging it across the fabric. For pleats, darts, or other areas that require shaping, use a tailor's ham or seam roll to maintain the fabric's sheen and shape.
8. Hemming
Fold and press the hem using the pressing cloth to avoid a visible crease line. Stitch the hem using a narrow, even hemming stitch, invisible hem stitch, or a blind hem stitch on your sewing machine.


9. Fittings and Adjustments
Perform fitting sessions with the garment inside out to make necessary adjustments without damaging the satin's surface.
10. Finishing Touches
Attach closures (zippers, buttons, hooks, etc.) carefully to avoid puckering or pulling the fabric. Hand-sew delicate embellishments or trims to prevent damage from machine stitching.
11. Final Pressing
Give the completed dress a final press using the same care as before, ensuring all seams are lying flat and any wrinkles are removed. Remember, satin is a delicate fabric, and working with it requires precision and attention to detail. Proper handling, sewing techniques, and care during each step of the dressmaking process are essential to create a beautiful and well-finished satin dress.


